Bot Creation and Configuration
This guide walks you through the end-to-end process of creating and configuring your first Bubble Bot.
Prerequisites
- An iOS device. Currently we only support iOS devices, with Android version under development.
- At least one PixelMug P1 device. If you have more than one device, you can try multi-device bot.
- A computer/server with macOS, Linux, or Windows.
Step 1: Download & Registration
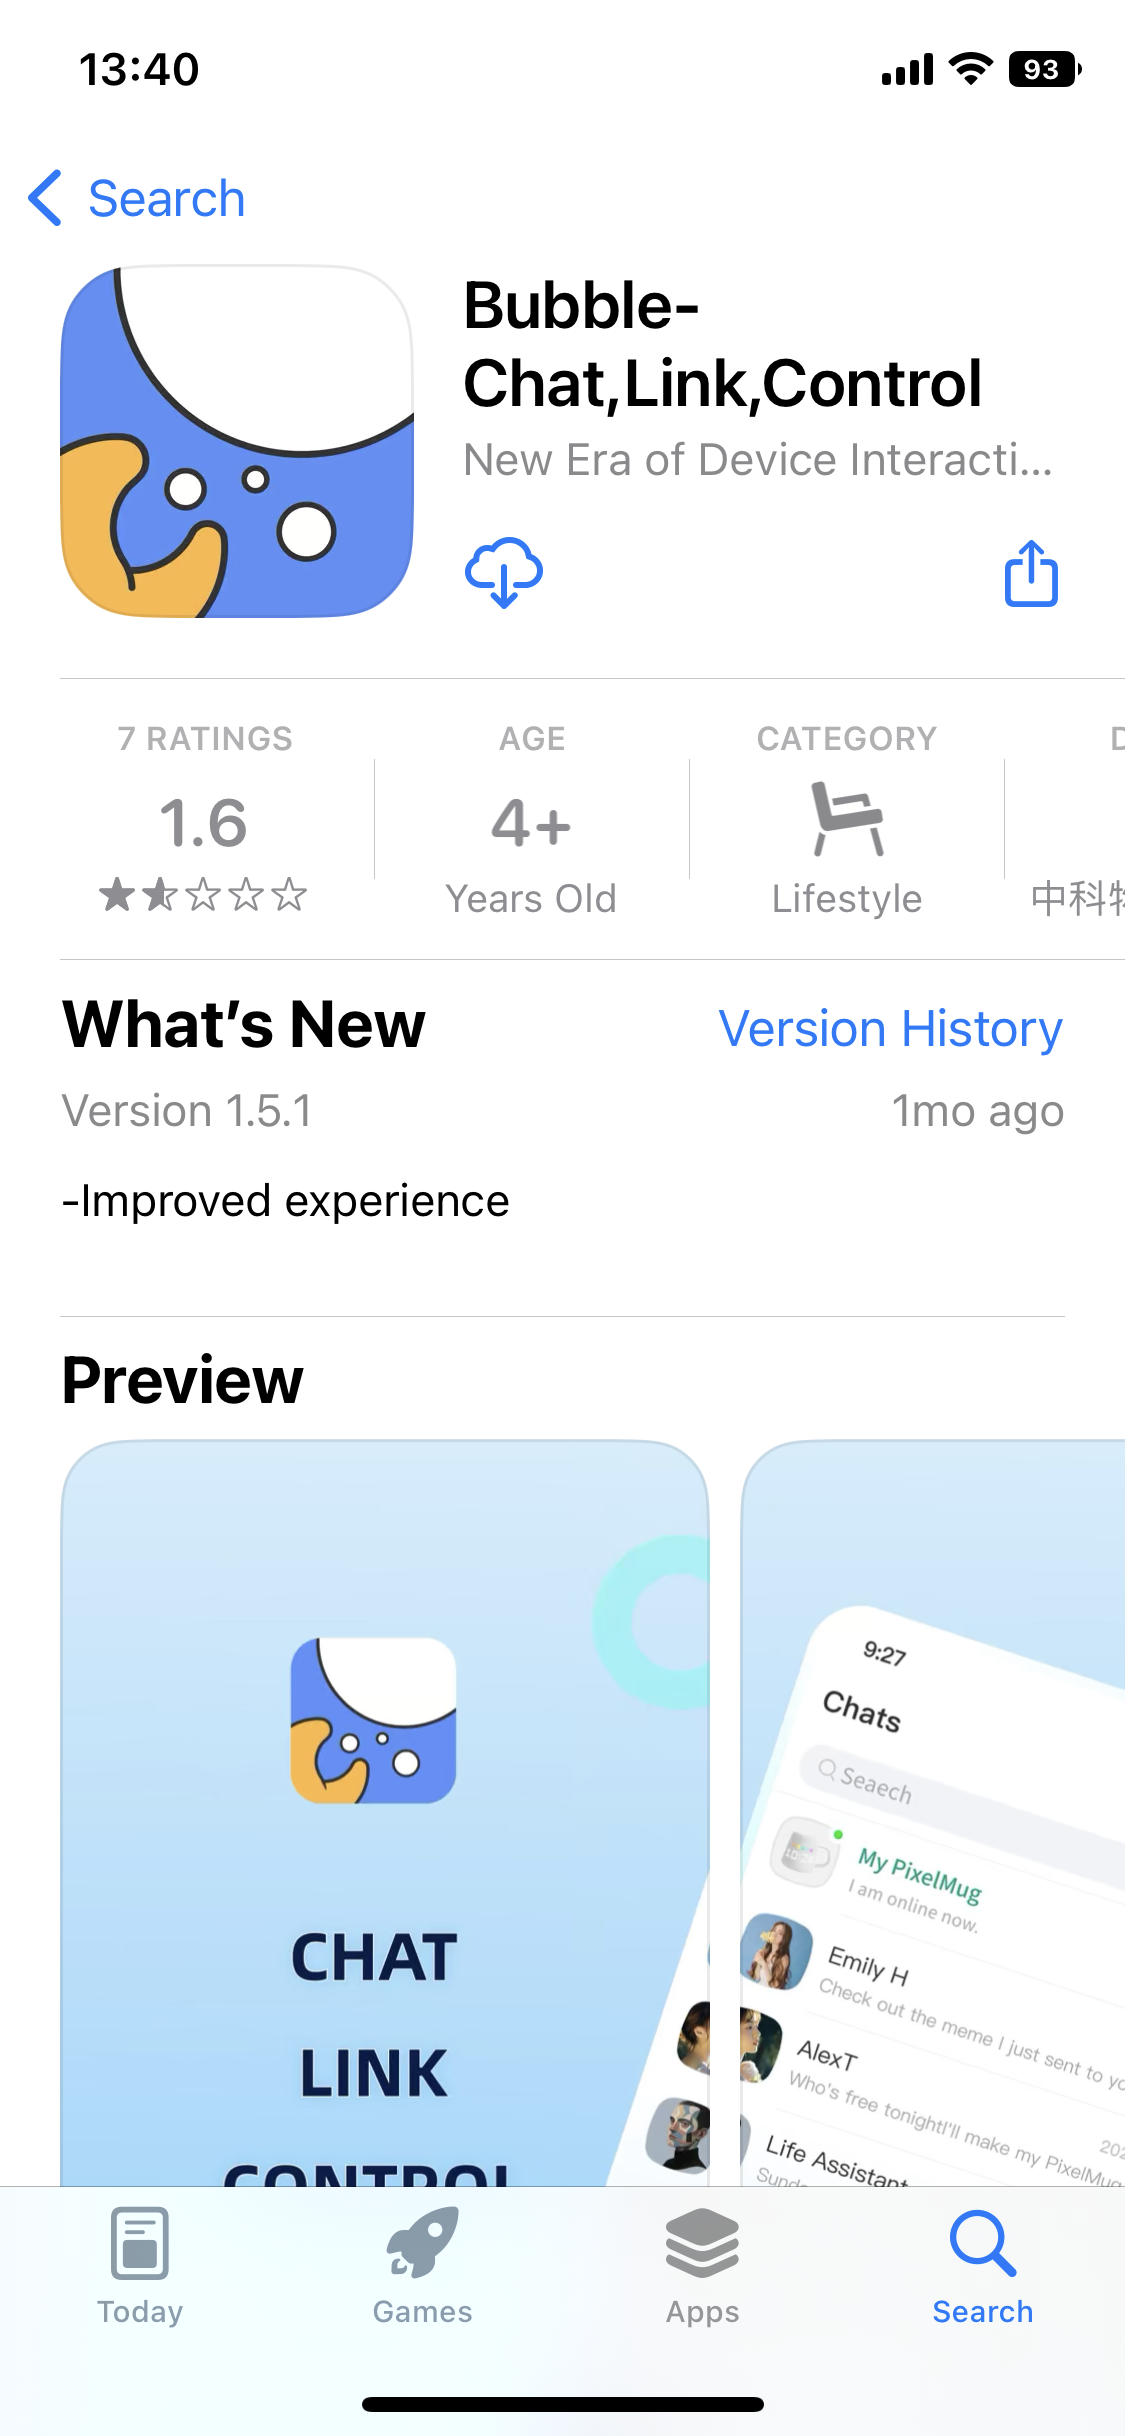
Before start writing code, you should install Bubble app.
- Download the App: Search for "Bubble" or "Bubble-chat" in the App Store.
- System Requirements: Currently, the platform exclusively supports iOS.
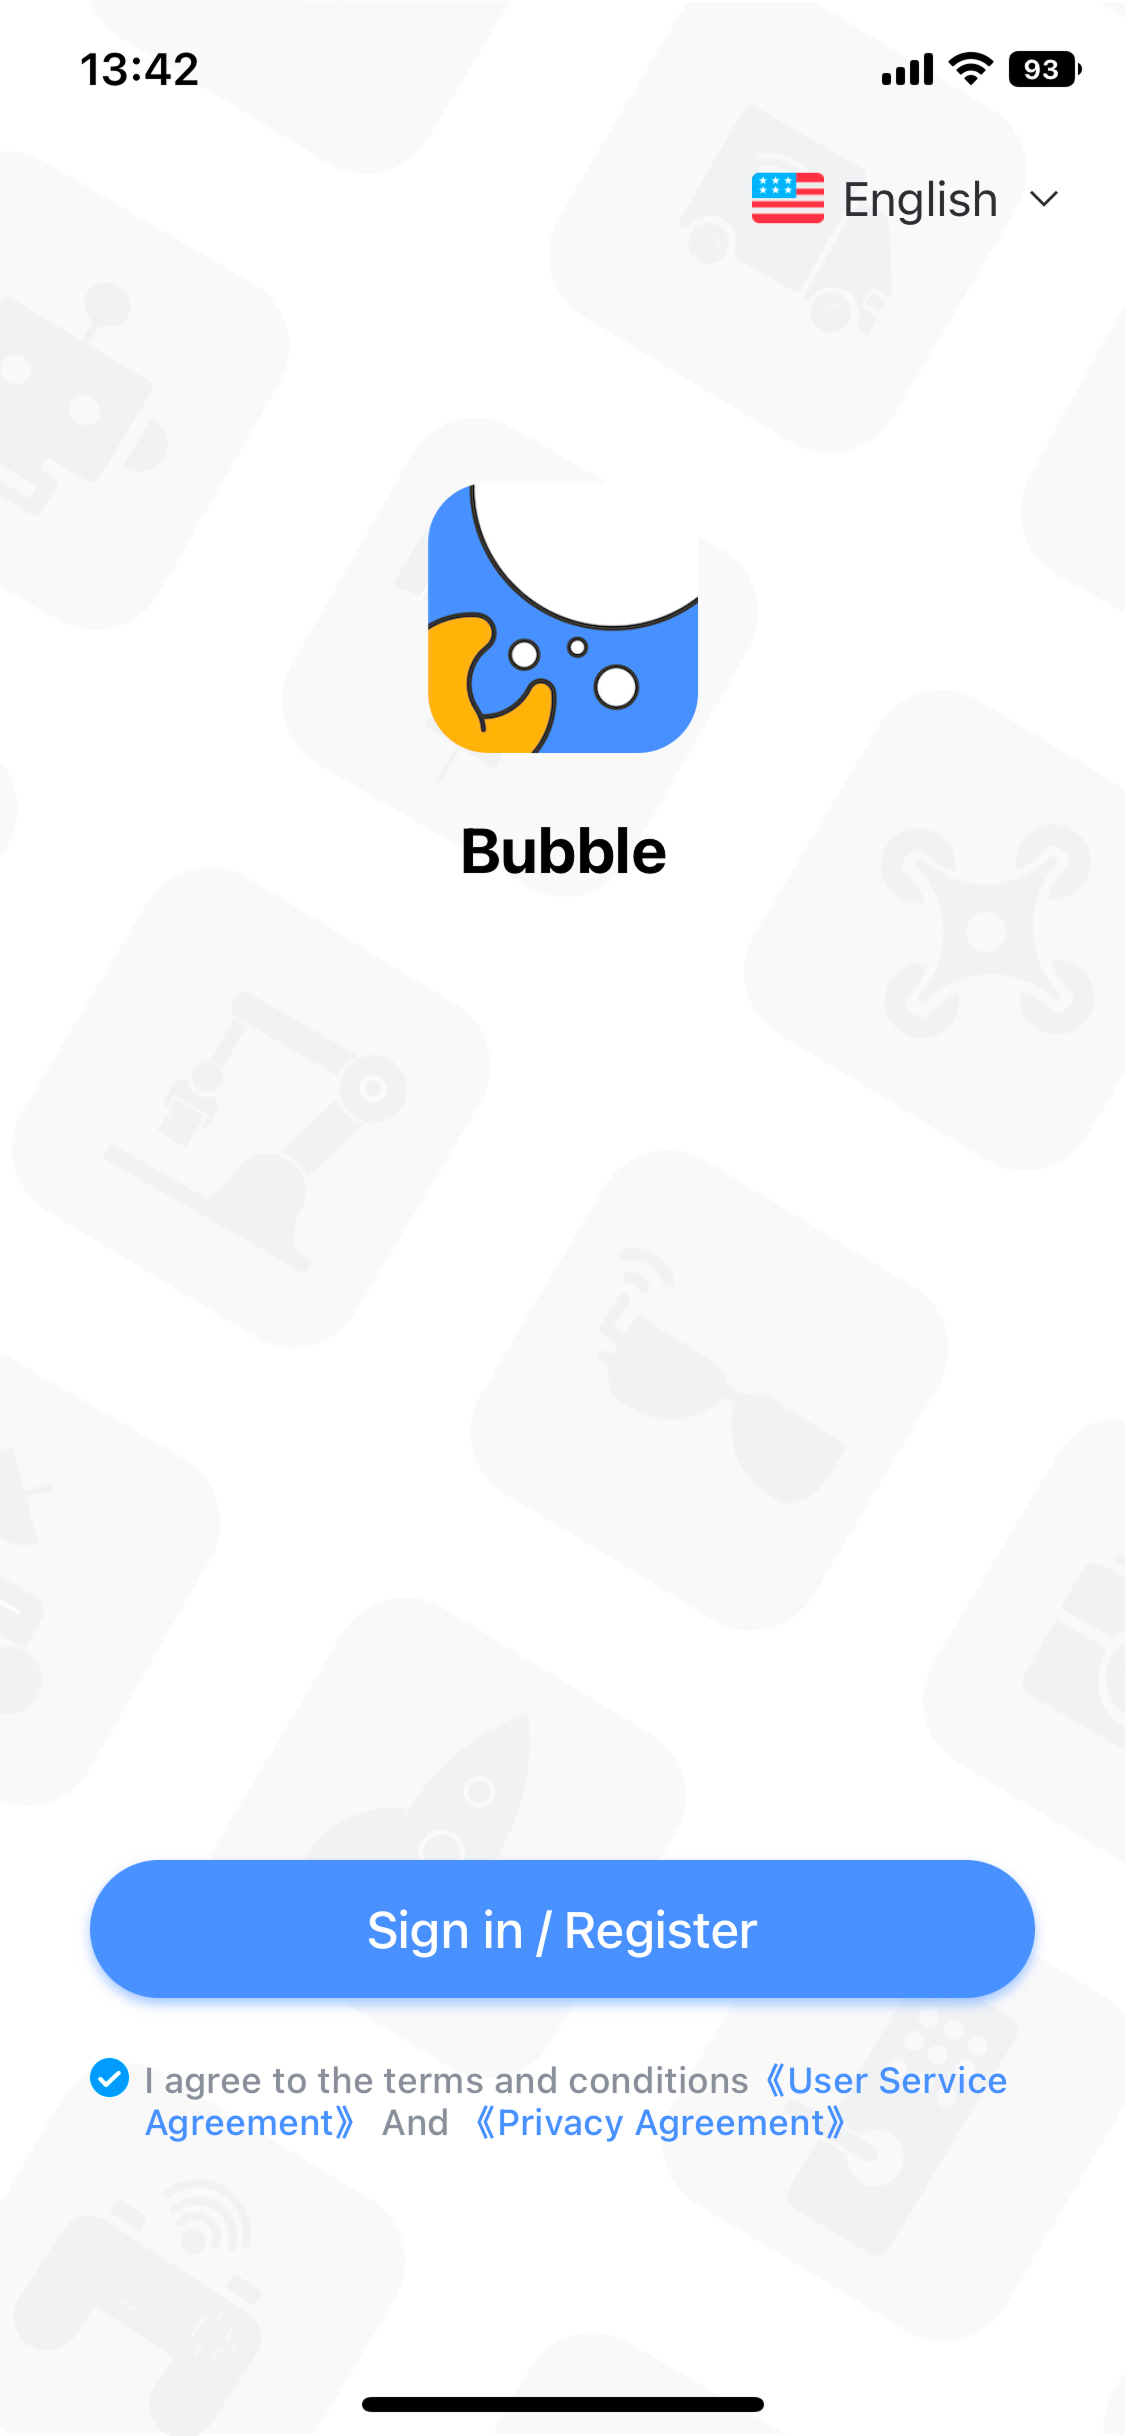
- Account Registration: Follow the in-app instructions to register.
Step 2: Create Your Bot
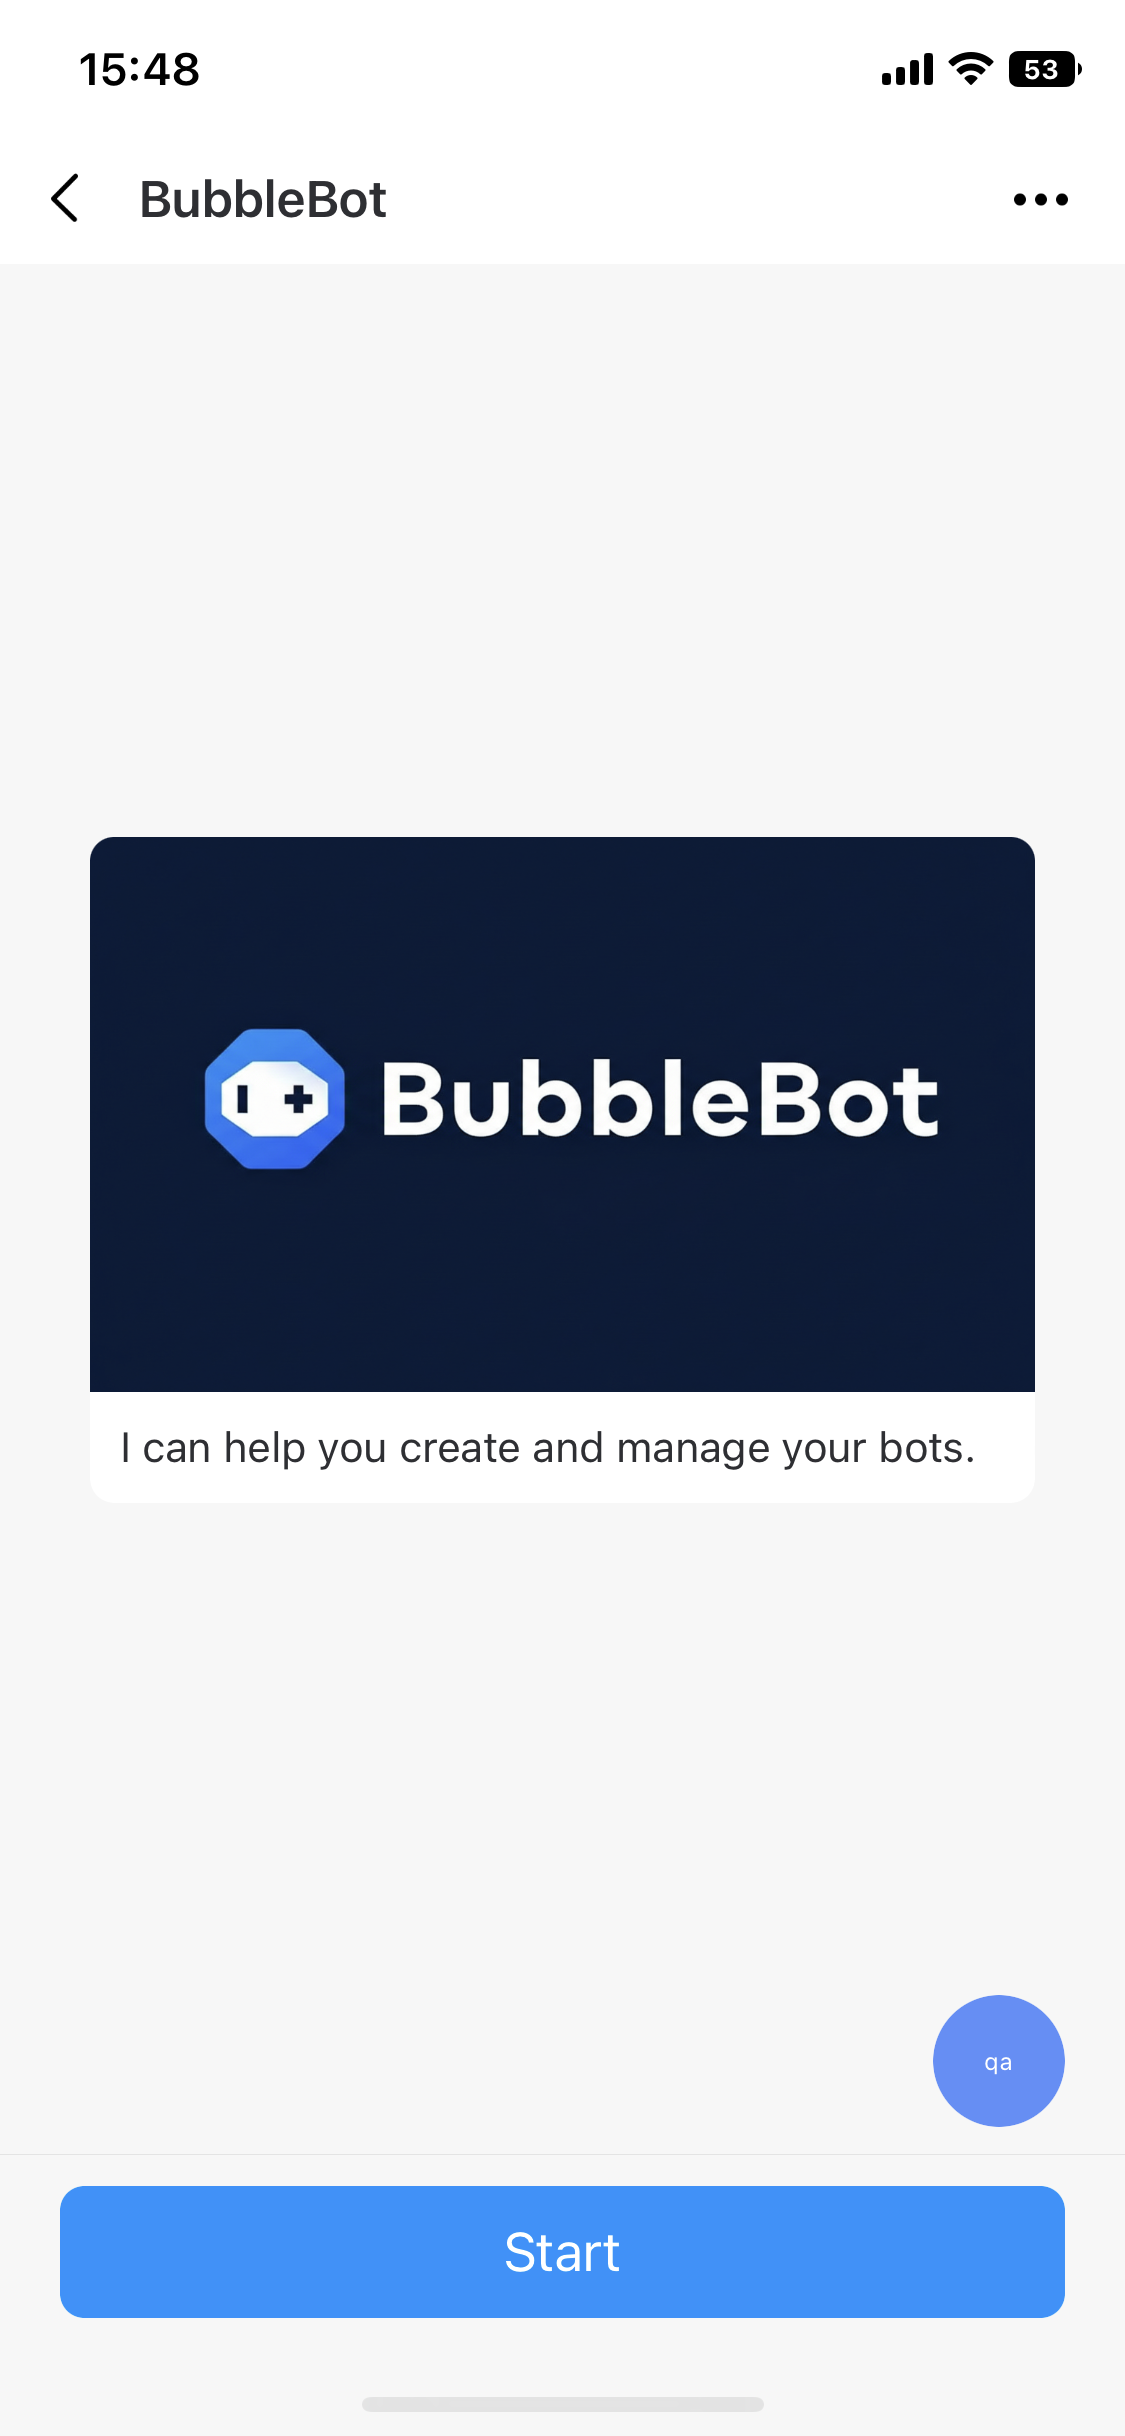
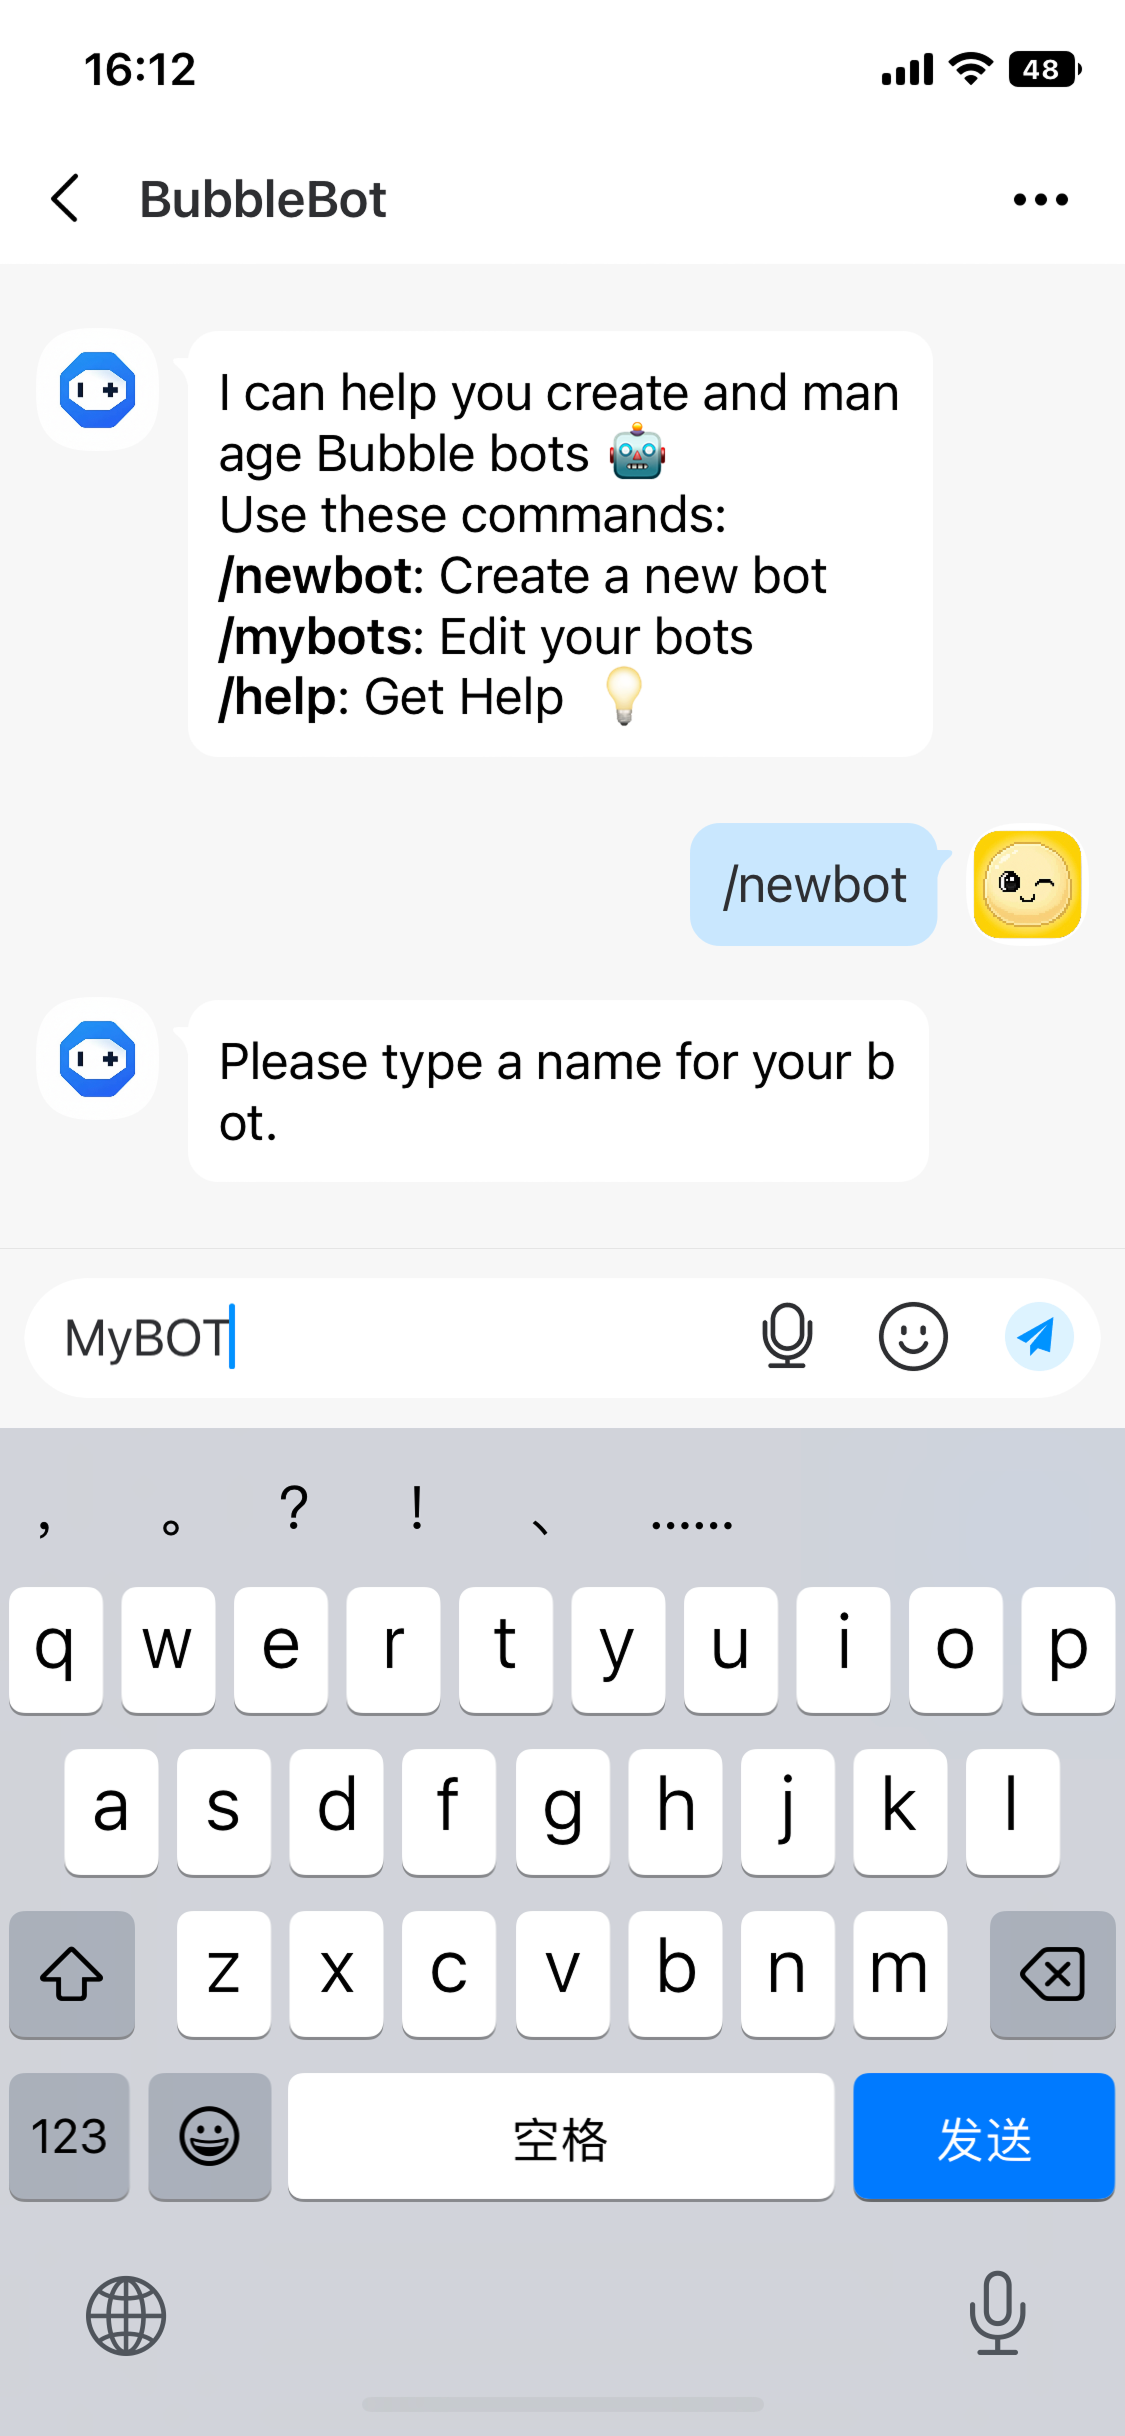
We use a system-level bot called BubbleBot to manage the application of bots, similar to Telegram’s BotFather.
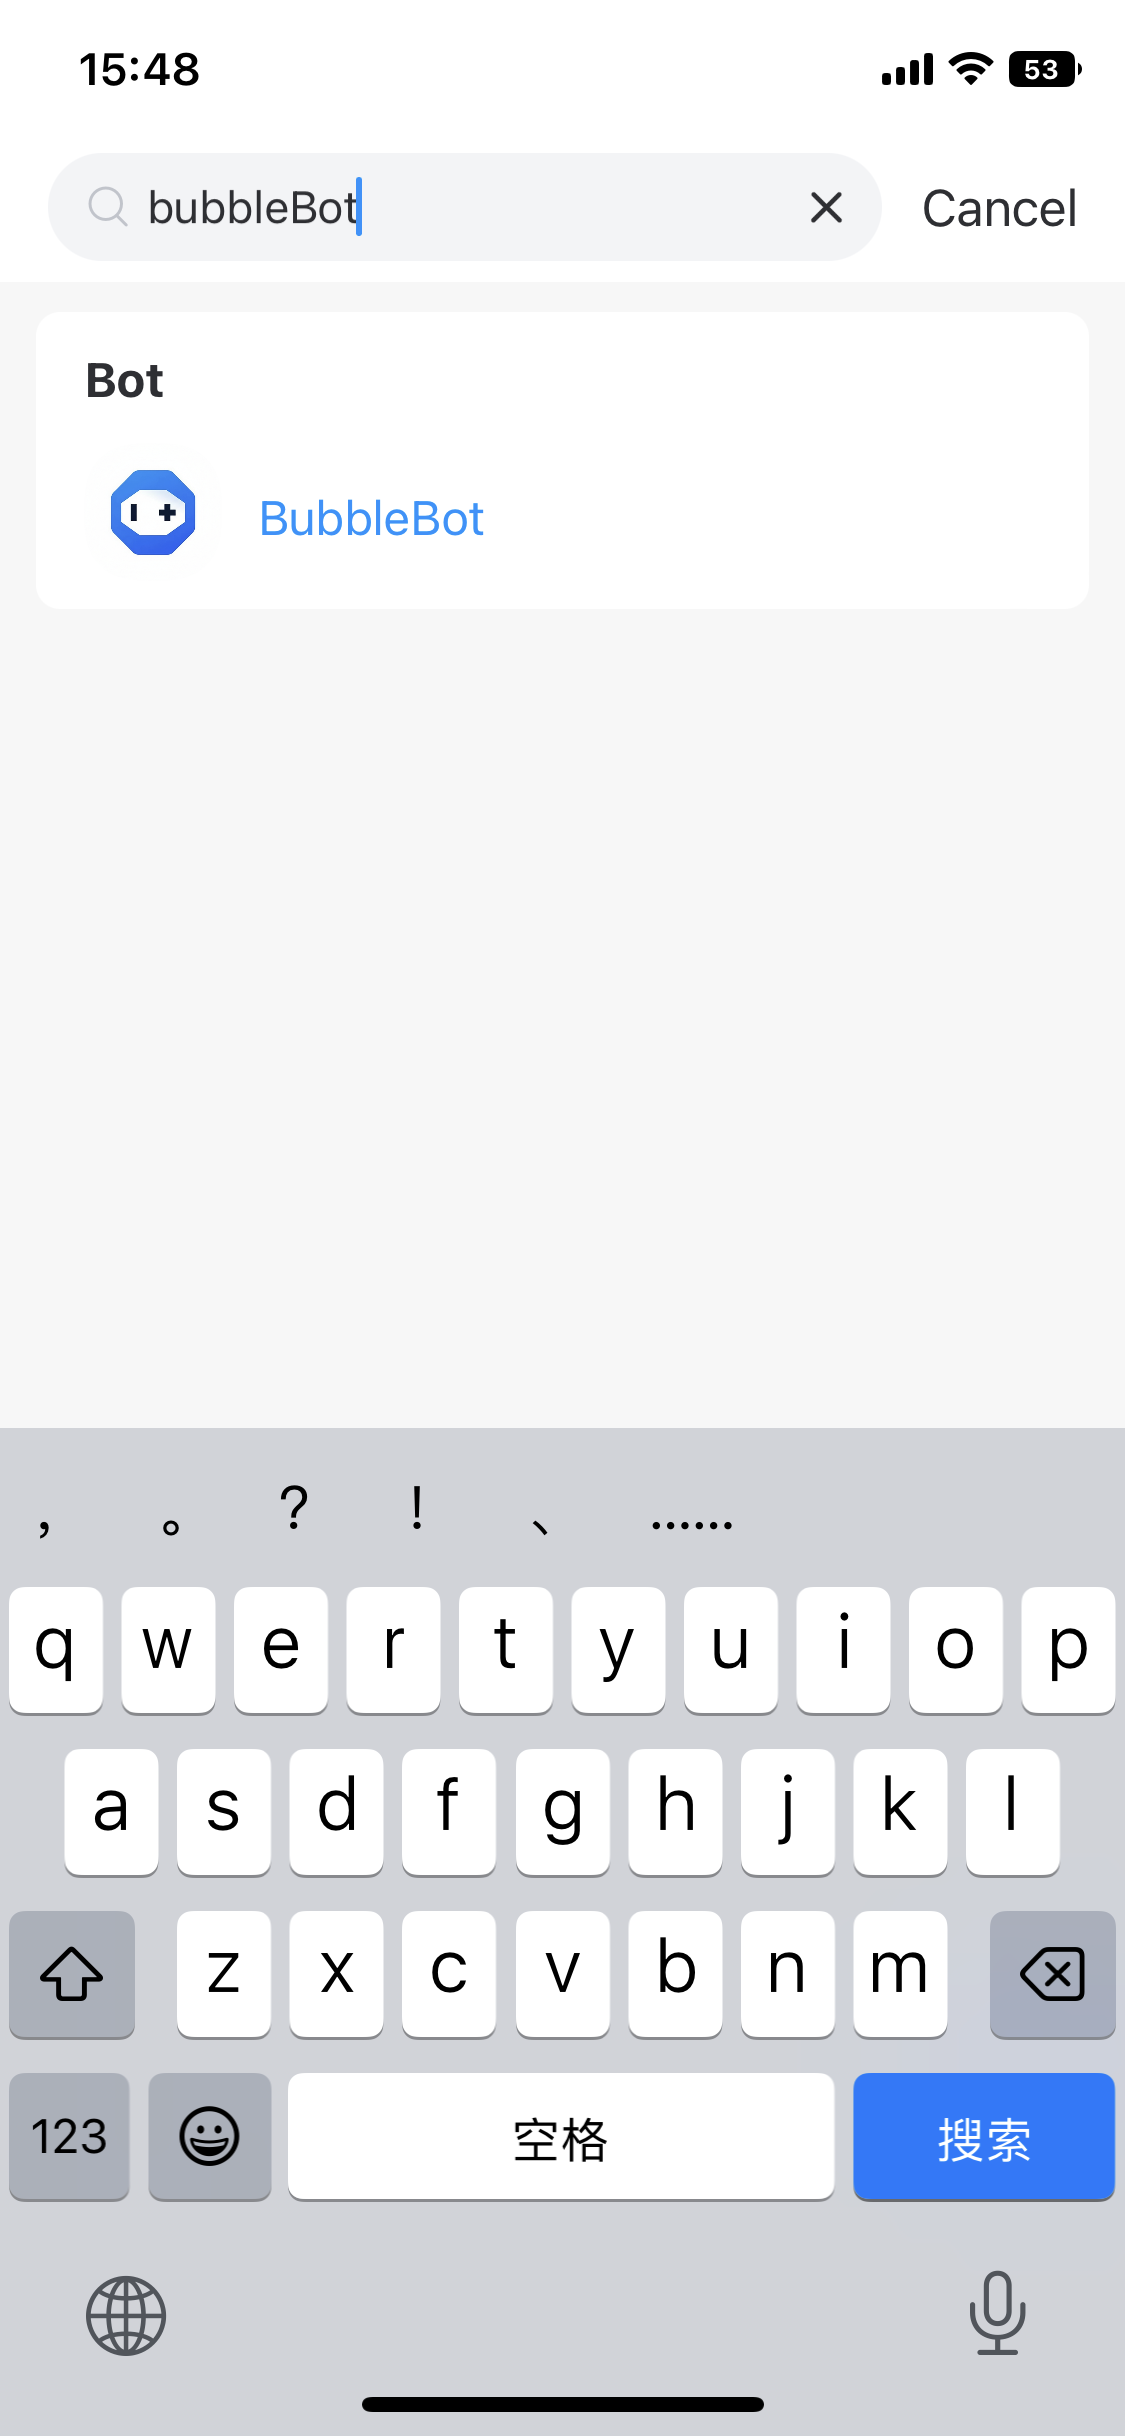
- Add BubbleBot: Search for and add
BubbleBotas a contact within the Bubble app. - Initiate Creation: Send the
/newbotcommand to the assistant.
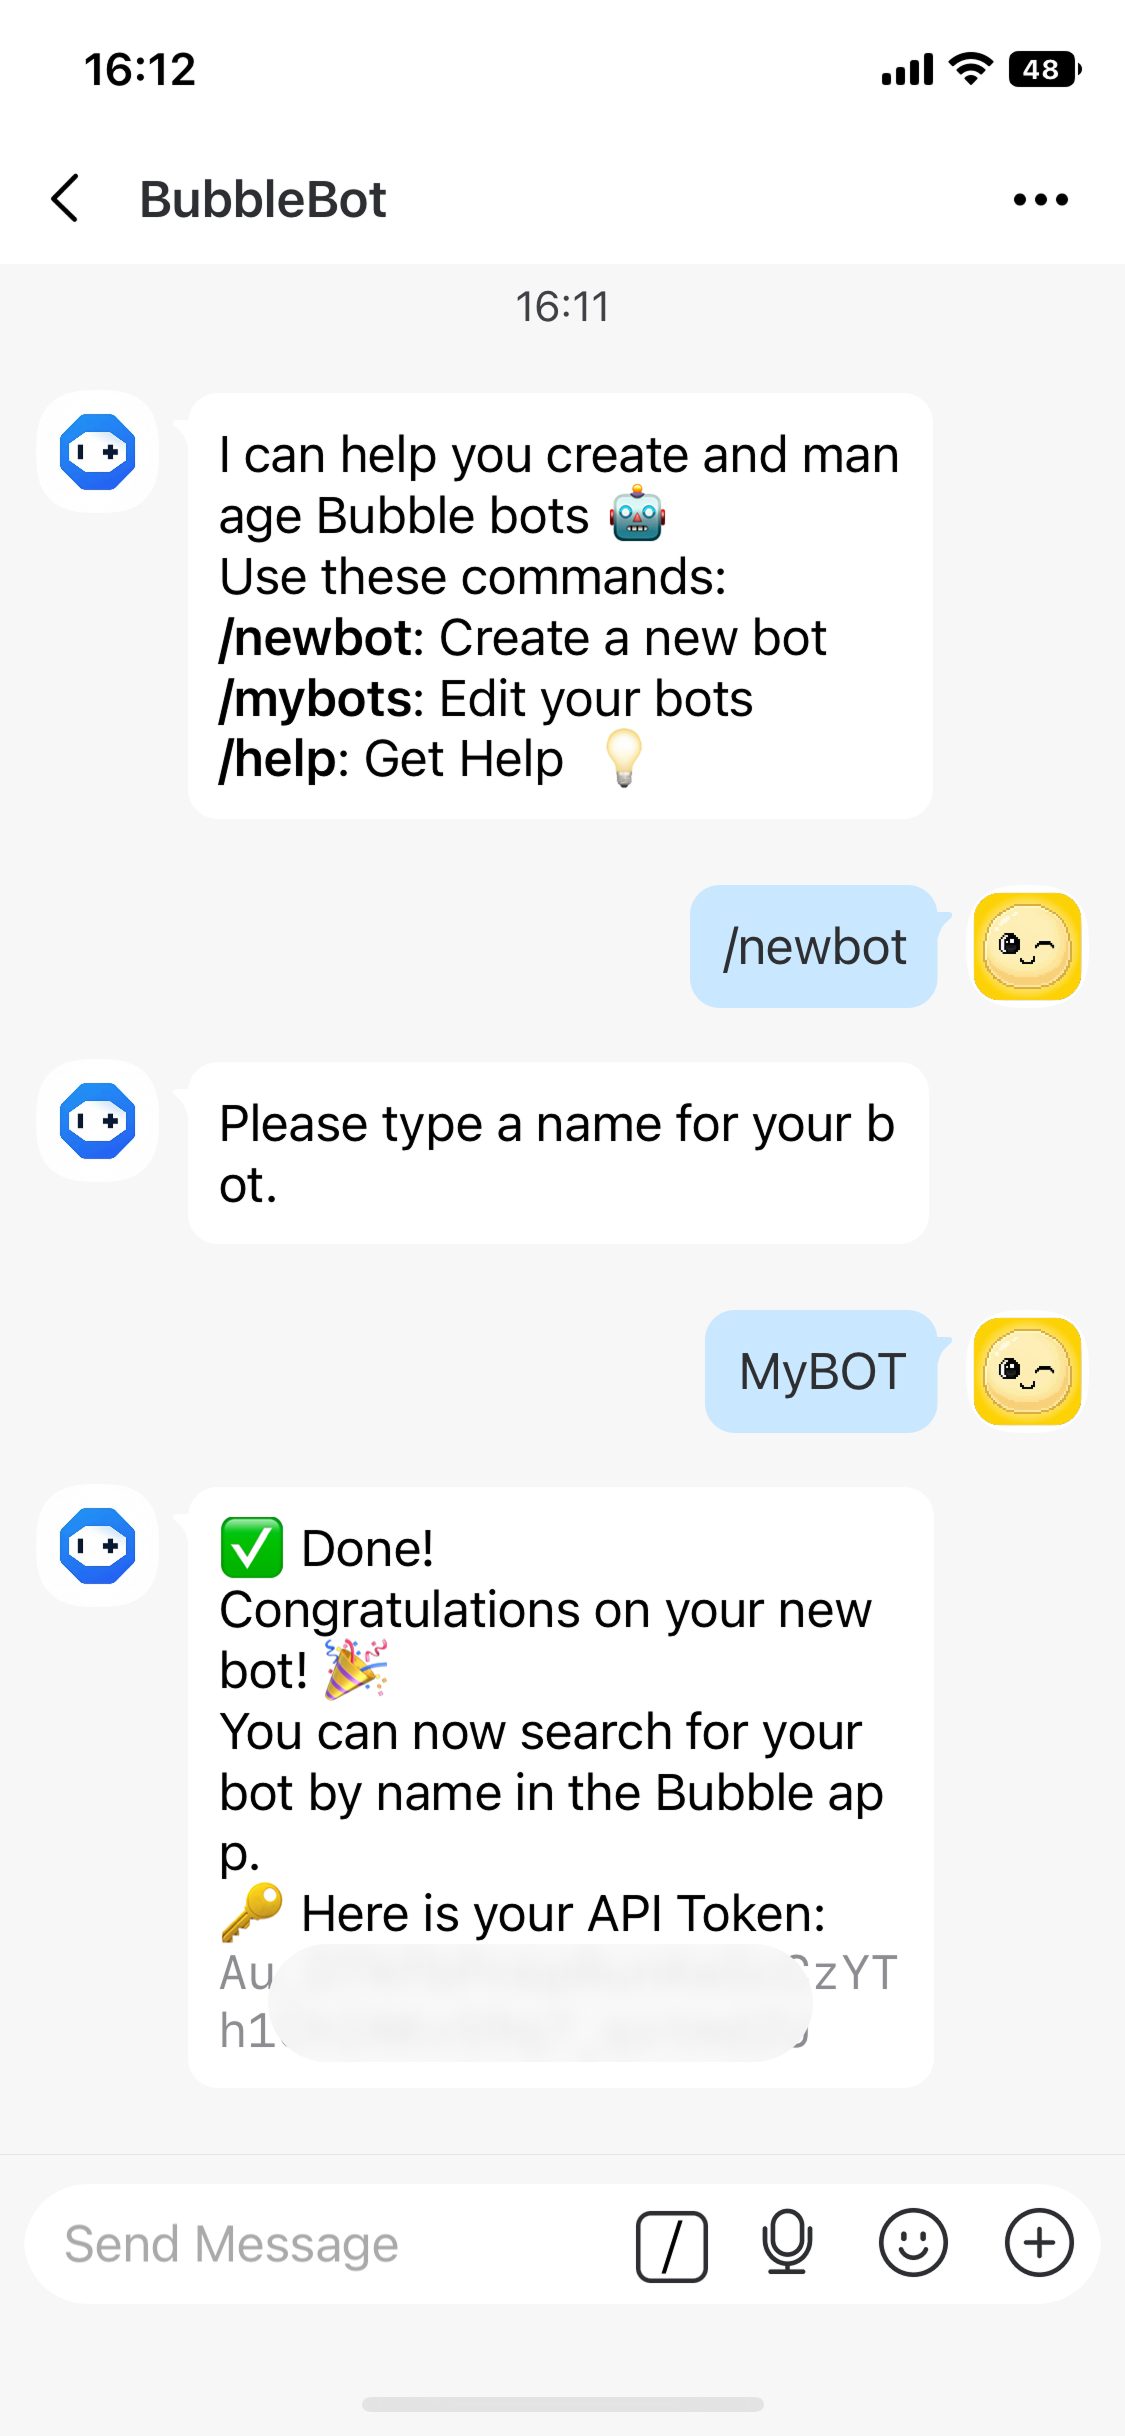
- Bot Name: Choose a name for your bot (this must be globally unique).
- Get Your Token: Once created, you will receive a unique Bot Token. This is your exclusive credential for calling the SDK and all platform APIs. Keep it secure.
Step 3: Config Your Bot
- View Your Bots: Send the
/mybotscommand toBubbleBot. - Select Bot: Choose the bot you just created from the list.
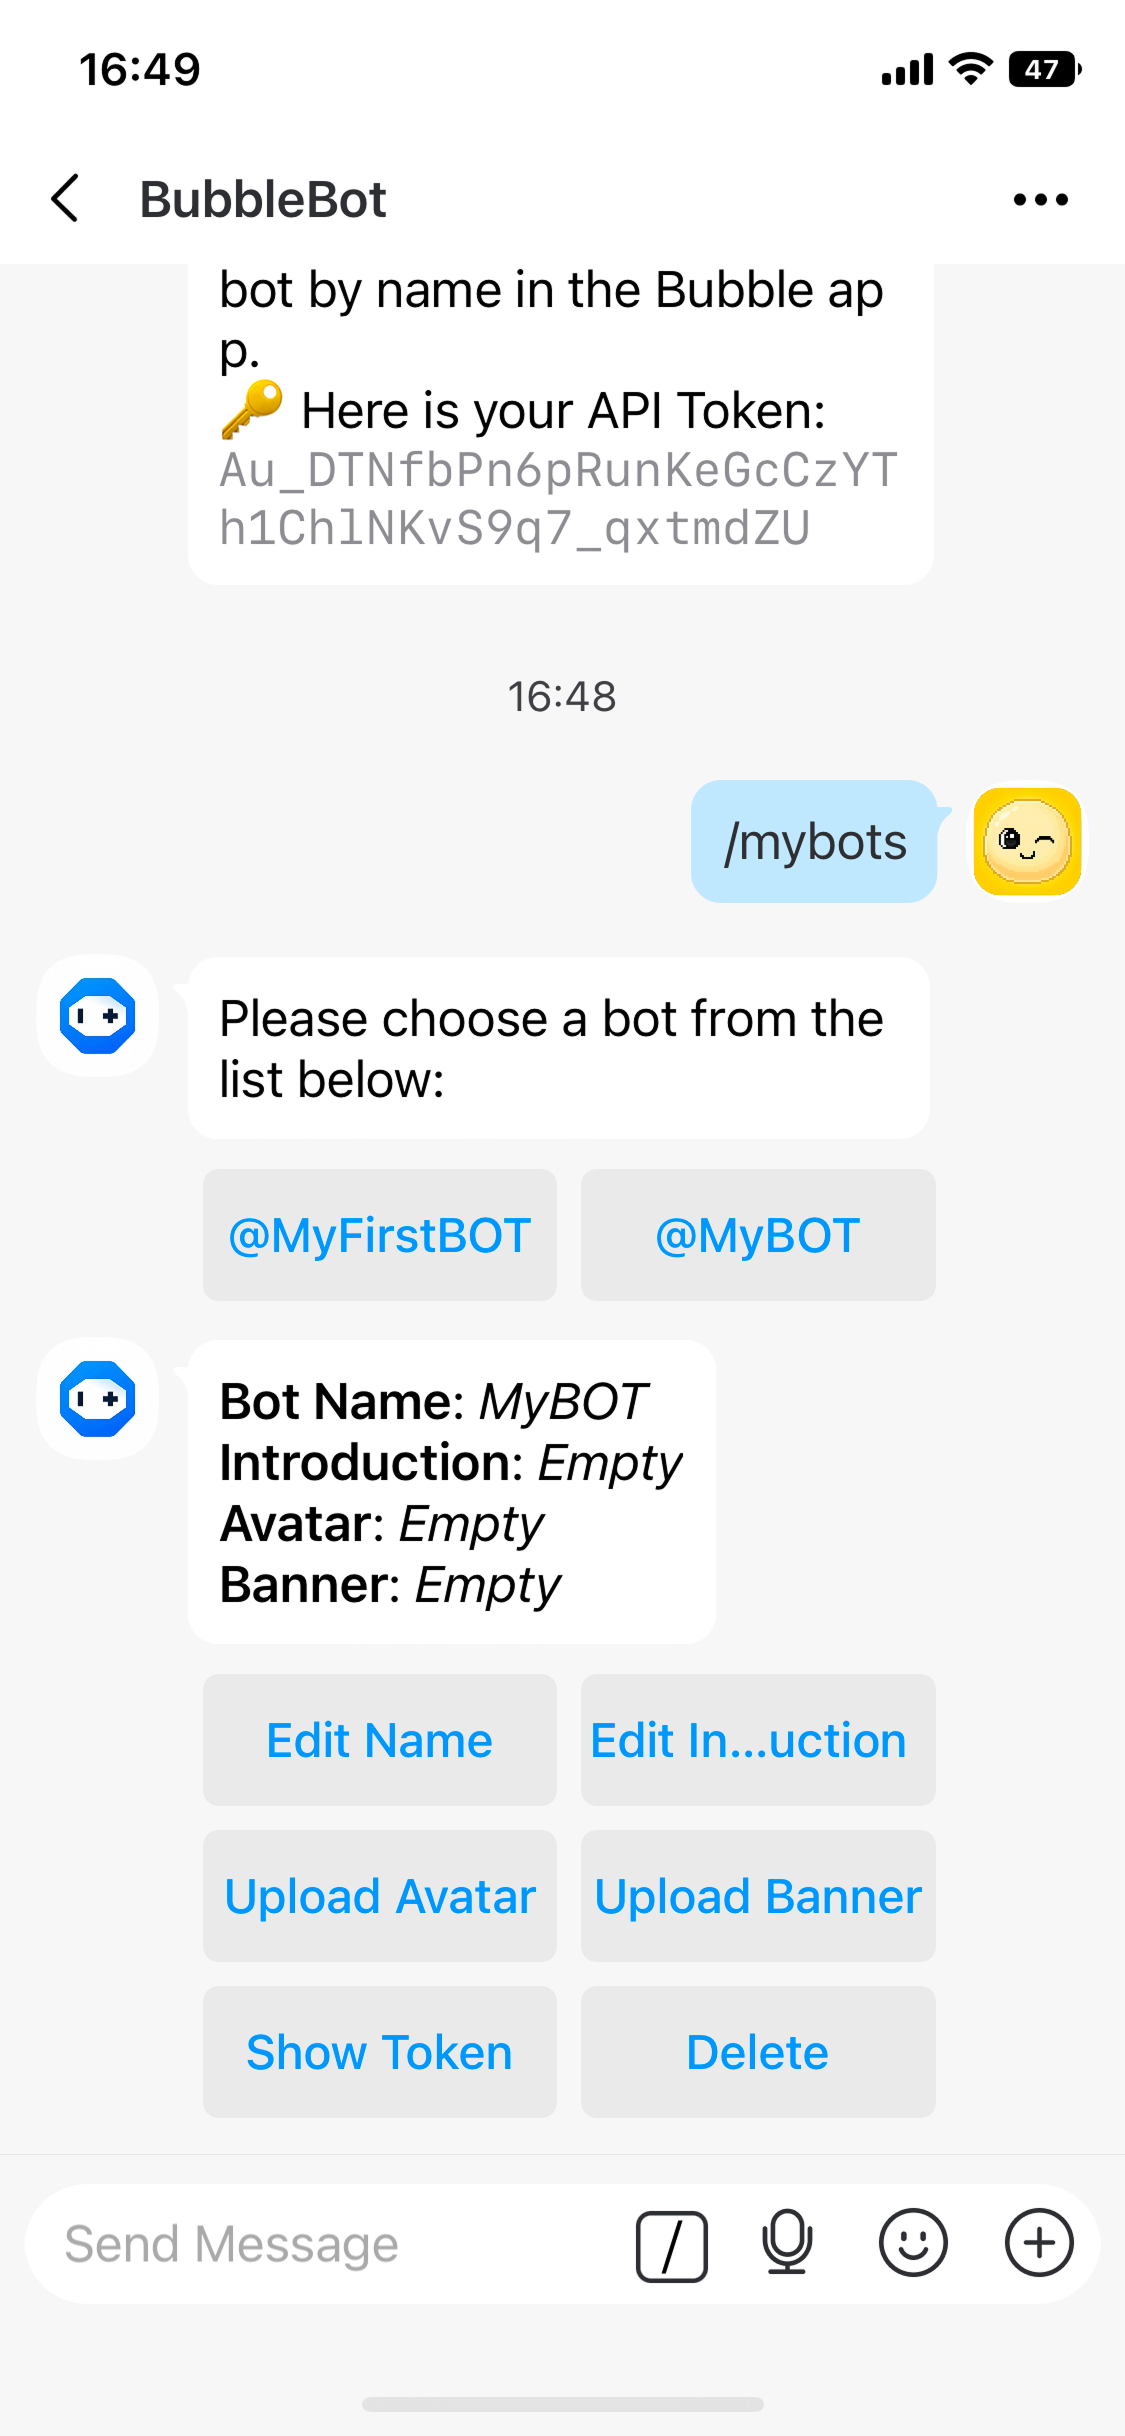
- Configure Metadata:
- Description: Set a brief introduction of your bot’s features.
- Avatar: Recommended 1:1 aspect ratio (square), maximum size 2MB.
- Banner: Recommended 16:9 aspect ratio, maximum size 5MB.
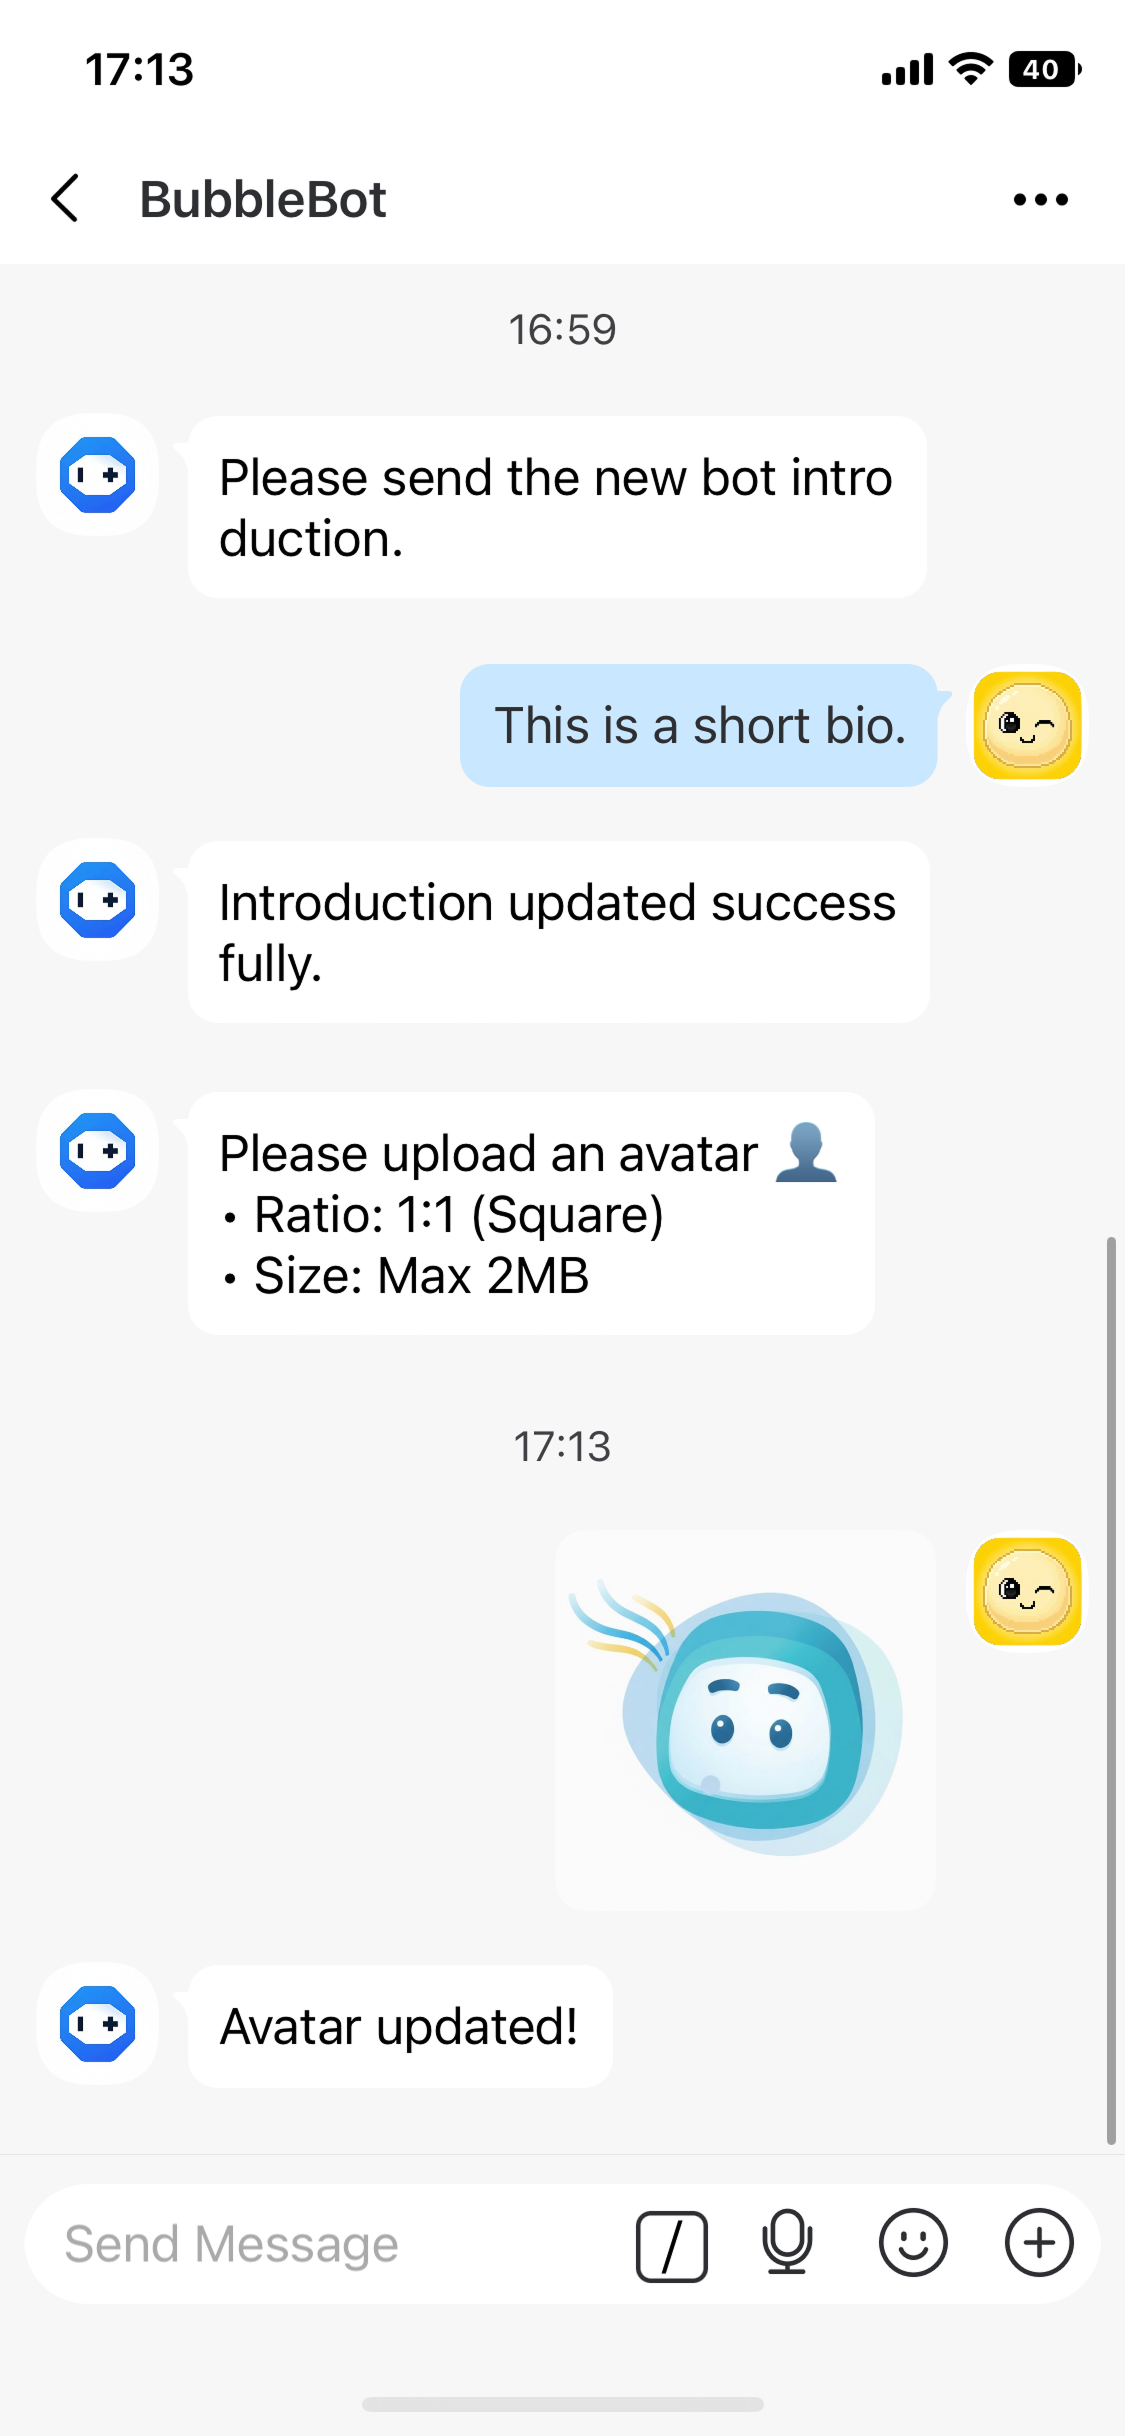
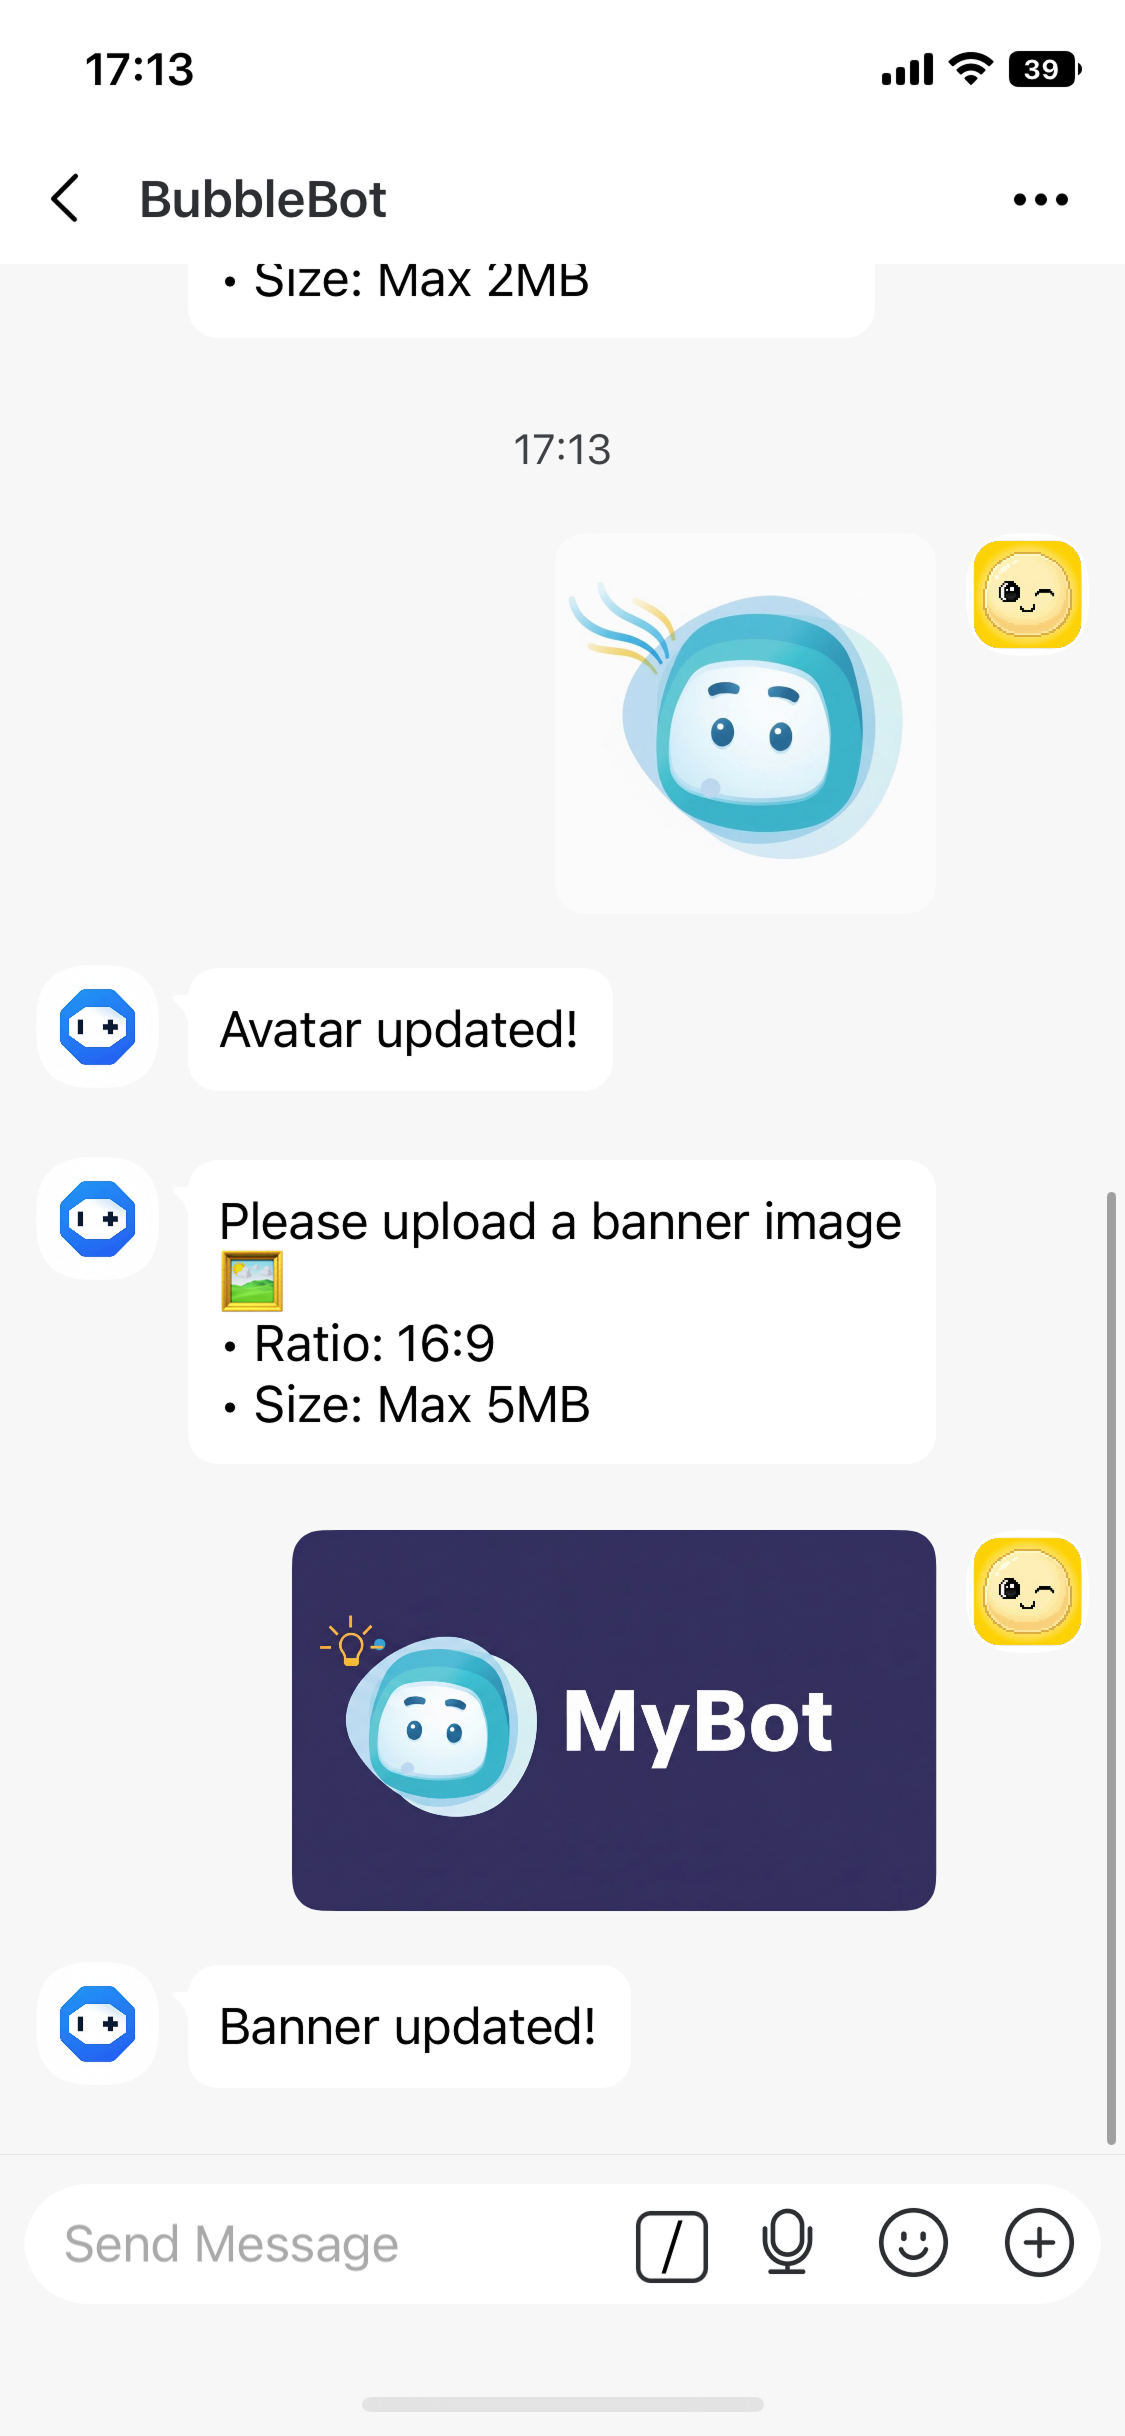
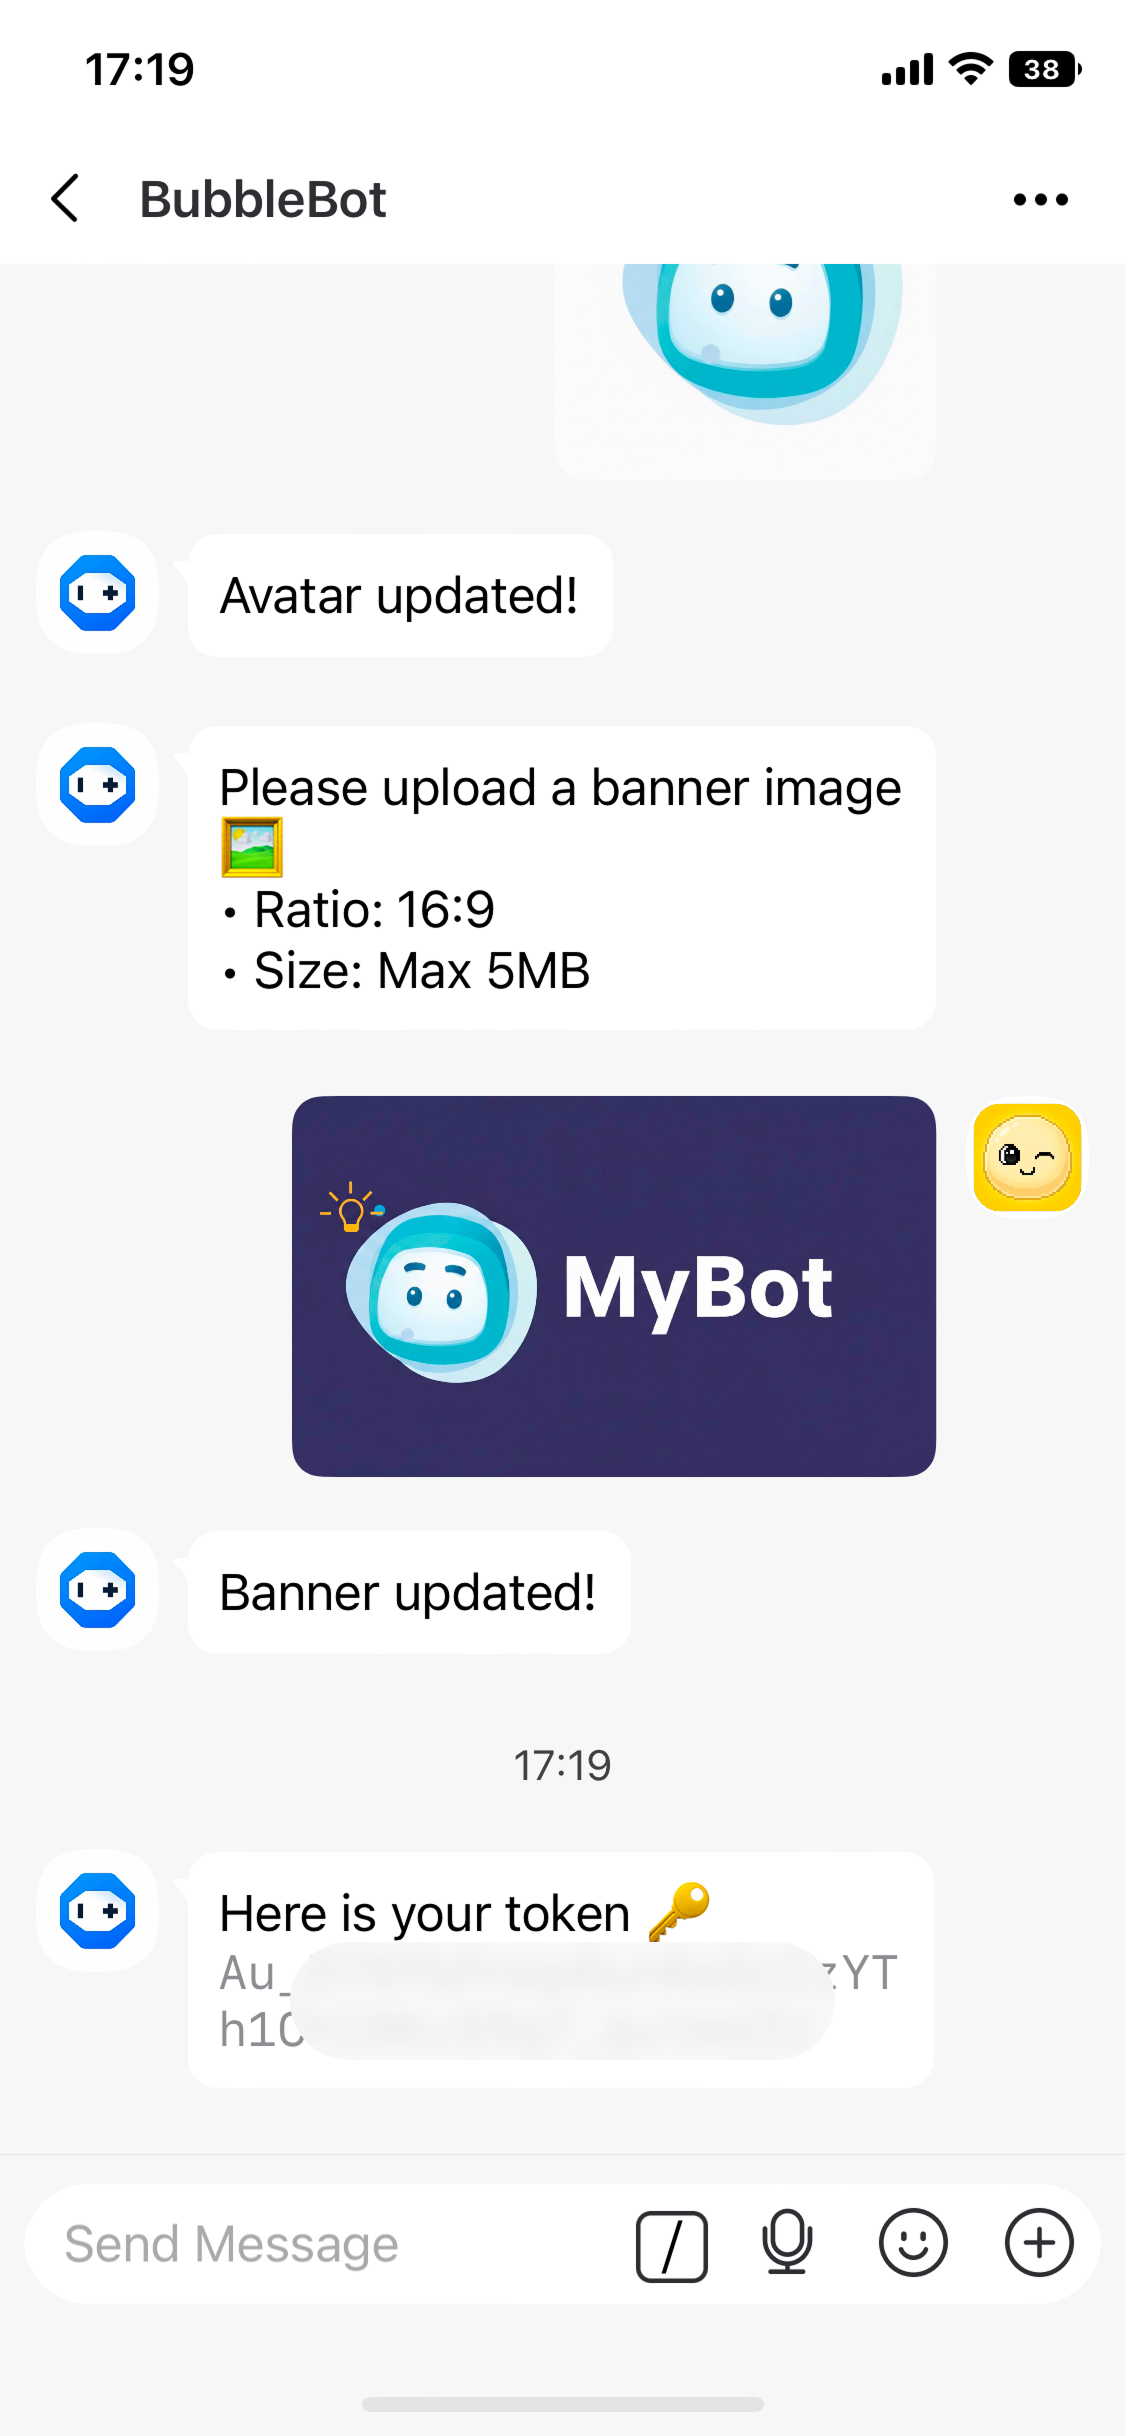
- Verification: Return to your chat list, search for your newly created bot, and verify that the profile information has updated successfully.
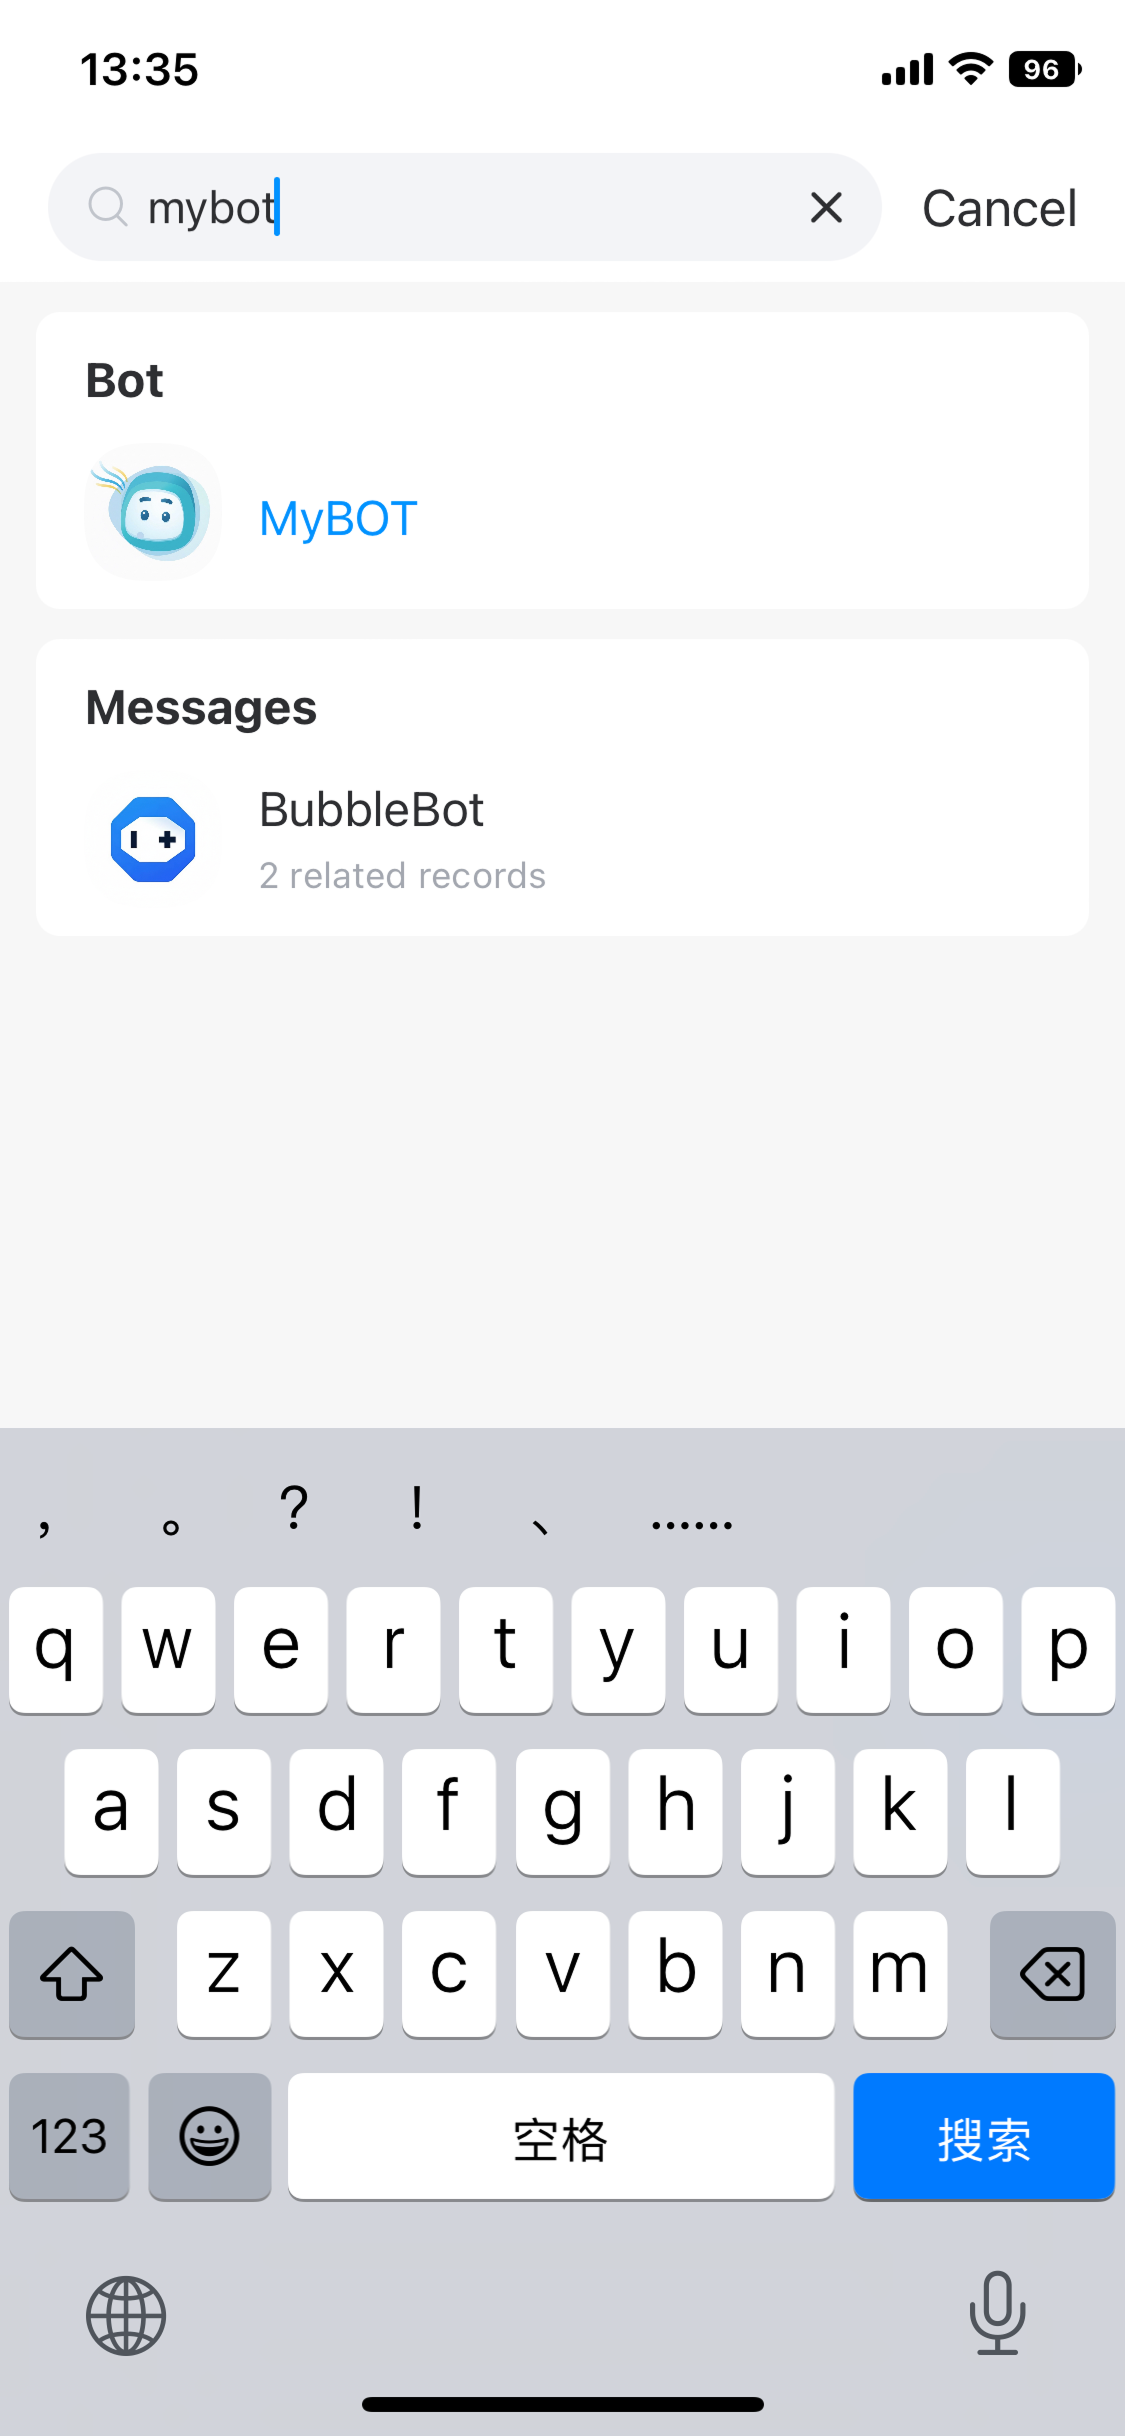
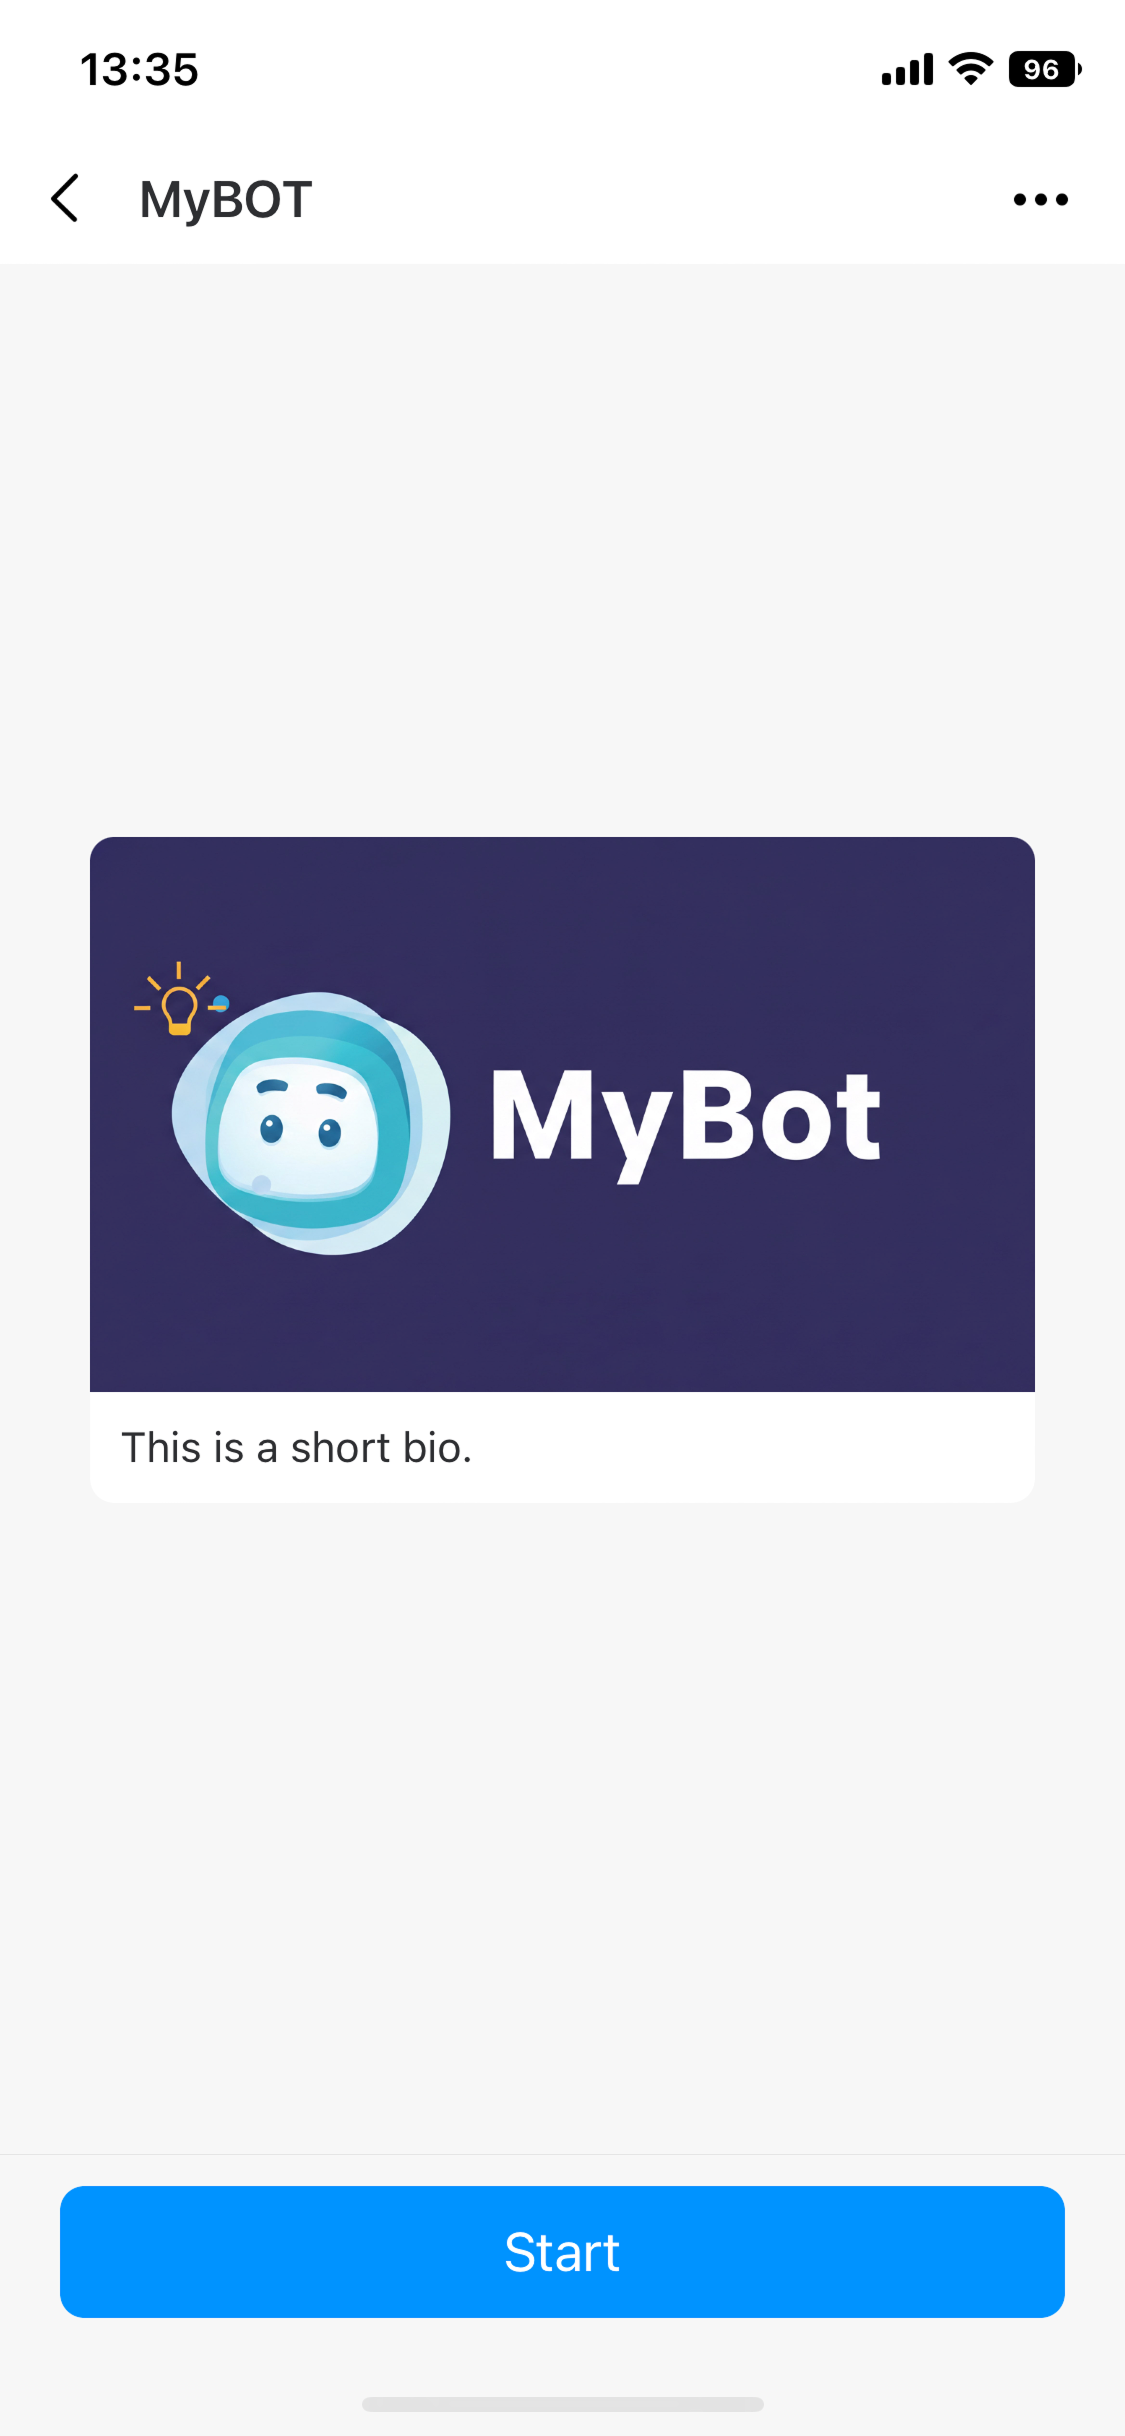
Now, you have done bot creation. It is ready to write some code for your bot :)